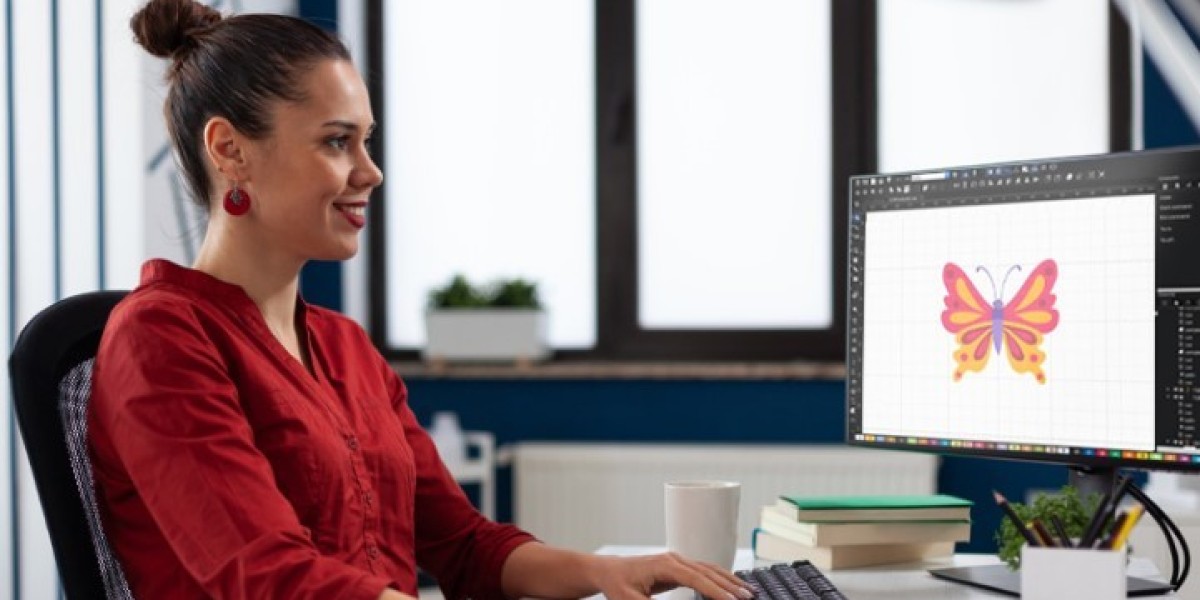
Embroidery has come a long way from hand stitching and manual patterns. Thanks to digitizing software, you can now turn almost any image into a beautifully stitched design — but creating a digitized embroidery designs that looks sharp, stitches accurately, and works with your machine requires more than just a file conversion.
In this guide, we'll walk you through essential tips for digitizing embroidery designs, focusing on accuracy, detail, and file formats. Whether you’re a hobbyist or starting a business, this article is packed with valuable insights to help you get professional-quality results every time.
Pro Tip: Don’t want to digitize from scratch? Try Digitizing Buddy — an affordable, reliable service that converts your logos, illustrations, or sketches into machine-ready embroidery files fast!
What Is Digitized Embroidery?
Digitizing is the process of converting artwork into a stitch file that embroidery machines can read. This file tells the machine where, how, and when to stitch — from color changes to stitch types and sequencing.
Why Accuracy & Detail Matter in Digitizing
Getting accurate and detailed results starts at the digitizing stage. Poorly digitized files can result in:
- Puckering or distortion
- Thread breaks
- Misaligned stitches
- Unprofessional-looking results
That’s why every detail counts — from stitch density to file format compatibility.
Tip 1: Start with High-Resolution Artwork
Your final embroidery is only as good as your source file.
Use:
- Clean, high-resolution images (preferably vector files like SVG, AI, EPS)
- Simple, bold lines for small text or logos
- Separate colors clearly
Avoid:
- Low-res JPGs or pixelated PNGs
- Overly detailed images for small-scale embroidery
Simplify before digitizing. Remove background noise and unnecessary details.
Tip 2: Choose the Right Stitch Type
Understanding how stitch types translate into embroidery is crucial.
Stitch Type | Best For | Example Uses |
Run Stitch | Outlines, fine details | Small text, travel paths |
Satin Stitch | Letters, borders, logos | Monograms, outlines |
Fill Stitch | Large areas, complex shapes | Backgrounds, patches |
Motif Stitch | Decorative and unique fills | Quilting, home décor designs |
Hatch, Wilcom, and Embrilliance all let you customize stitch types during digitizing.
Tip 3: Use the Correct Stitch Density
Stitch density refers to how closely the stitches are placed together. It impacts how smooth or heavy your embroidery looks.
- Too dense: May cause puckering, thread breaks, stiff fabric
- Too loose: May not cover the fabric properly
Standard Densities:
- Satin Stitch: 0.35 – 0.45 mm
- Fill Stitch: 0.4 – 0.5 mm
Tip: For stretchy fabrics, reduce density slightly and use proper stabilizers.
Tip 4: Mind the Small Details
Tiny design elements might not translate well to thread. If you're digitizing a detailed logo, simplify tiny shapes and fine lines.
- Keep text size above 5 mm for legibility
- Merge or eliminate super fine elements
- Use run stitch or triple run for thin details
Think of embroidery like printing with thick ink — too much detail can blur the results.
Tip 5: Choose the Right Embroidery File Format
Different embroidery machines use different file formats. Always save your final design in the format your machine supports.
Machine Brand | File Format |
Brother, Babylock | .PES |
Janome | .JEF, .JAN |
Bernina | .EXP |
Tajima | .DST |
Melco | .EXP |
Pfaff | .PCS, .VIP |
Export your working file as a backup (e.g., .EMB for Wilcom, .BE for Embrilliance) and your machine file as the final version.
Tip 6: Use Underlay Stitches
Underlay stitches are like the foundation layer before the main stitches are laid down. They help:
- Secure the fabric
- Stabilize stitches
- Improve clarity and coverage
Common Underlay Types:
- Edge Run: Perfect for satin borders
- Zigzag: For wide satin areas
- Center Run: Great for fill stitches
Skipping underlay is a common beginner mistake — always use them!
Tip 7: Apply the Right Stabilizer
Even the best digitized file will fail without proper stabilization.
Use:
- Tear-away stabilizer for firm fabrics (hats, canvas)
- Cut-away stabilizer for stretchy fabrics (T-shirts, knits)
- Water-soluble stabilizer for delicate or sheer fabrics
Match stabilizer type to the fabric + stitch density combo for best results.
Tip 8: Test Before You Stitch the Final Piece
Always do a test run on similar fabric before using your final garment or product.
Checklist for your test:
- Stitch alignment
- Text legibility
- Color changes
- Stitch pull or puckering
Minor adjustments in software can save hours of headache later.
Bonus: Quick Digitizing Software Comparison
Here’s a quick look at beginner-friendly digitizing tools:
Software | Skill Level | Features |
Hatch by Wilcom | Intermediate | Powerful, professional quality |
SewArt | Beginner | Affordable, good for JPG to DST |
Embrilliance | Beginner | Mac-friendly, easy to use |
Ink/Stitch | Beginner | Free, works with Inkscape |
Don’t Want to Digitize Yourself?
If you want to skip the learning curve or need consistent results, try a trusted service like Digitizing Buddy.
They offer:
- Fast turnaround
- Support for PES, DST, JEF, EXP, JAN, and more
- Clean, optimized stitch paths
- Affordable pricing
Whether it's a logo, photo, or vector art, they’ll turn your file into a stitch-perfect design ready for production.
Final Thoughts
Digitizing embroidery is part art, part science — but with the right tools, settings, and attention to detail, you can create stunning designs that stitch beautifully on any fabric.
Always remember:
- Start with clean artwork
- Choose the right stitch types
- Use underlays and stabilizers wisely
- Save in the correct file format
- Test before production
With these tips, your embroidery will not only look great but also stand the test of time.